本地摸索了一天,磕磕绊绊,总算是用vscode把环境跑起来了,可以编译以及下载了。
首先需要安装编译所需的环境以及SDK包下载
1.安装msys2,官网下载比较慢,可以到阿里云镜像库上下载,我这里下载的是msys2-x86_64-20241208.exe版本的,下载好后本地点击安装,具体可参照文章msys2软件安装介绍
2.Ai-WB2系列SDK开发包下载,本地安装git,使用如下命令拉去代码。
git clone --recursive https://gitee.com/Ai-Thinker-Open/Ai-Thinker-WB2
注:拉取的项目中\toolchain\riscv\MSYS 文件夹里面经常会是空的情况,该文件夹缺少会无法运行,解决方法就是开启科学上网,从新git拉取下仓库代码。或者可以通过百度网盘下载。下载完成后直接解压到\toolchain\riscv\MSYS文件夹里面即可。
3.环境遍历配置,上面1,2步骤已完成后,就可以配置环境变量了。
按下 Win + R组合键,打开“运行”对话框。
输入 sysdm.cpl(然后按回车键)。
在打开的“系统属性”对话框中,点击“高级”选项卡,然后在下方点击“环境变量”按钮。这将直接打开环境变量设置界面。
我这边是直接配置在系统变量的path里面,当然配置方式有很多种,可根据个人喜好来。

4.上面环境都配置好后,就可以打开vscode了,vscode安装可参照链接
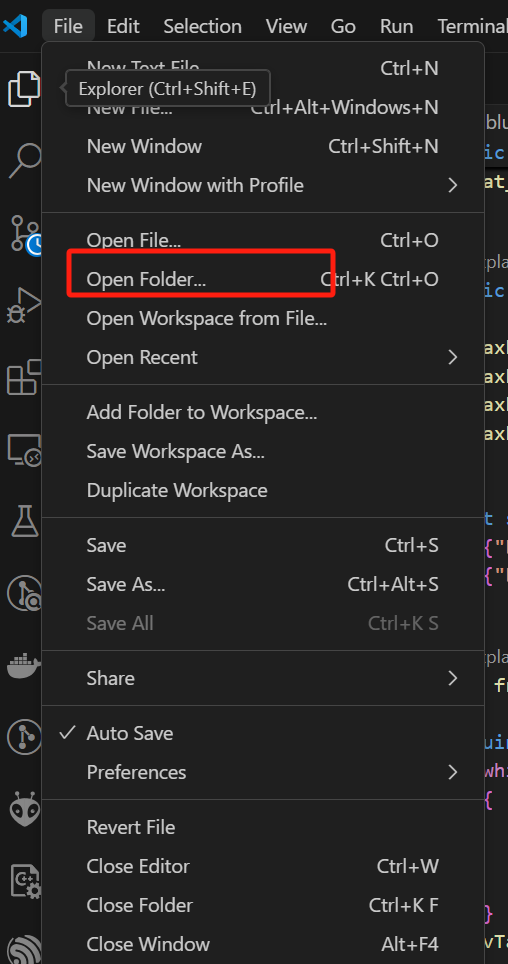
使用vscode打开上面第2步下载的代码


打开一个terminal窗口,如下图

比如我想编译下载hellword项目,则执行命令进入到helloworld目录下
cd .\applications\get-started\helloworld\

执行make命令,等待一会,如下图编译输出

编译结束

准备烧录到板子里面
还在刚刚的控制台执行命令make -j8 flash p=COM10,这里的COM10端口号根据自己的情况进行更改,怎么看端口号? 执行命令win+x。


如上图可看到自己设备的端口号。


看到这个需要手动按下板子上的EN按键.

已经烧录成功。
打开串口调试软件,看看效果。重新再按下EN键,可以看到已经成功烧录,且运行了。

 有问题,欢迎交流。


 感谢,好的。